
No products in the cart.

The Small Jewelry Brand Packaging Checklist: 24 Items Before Your First Order
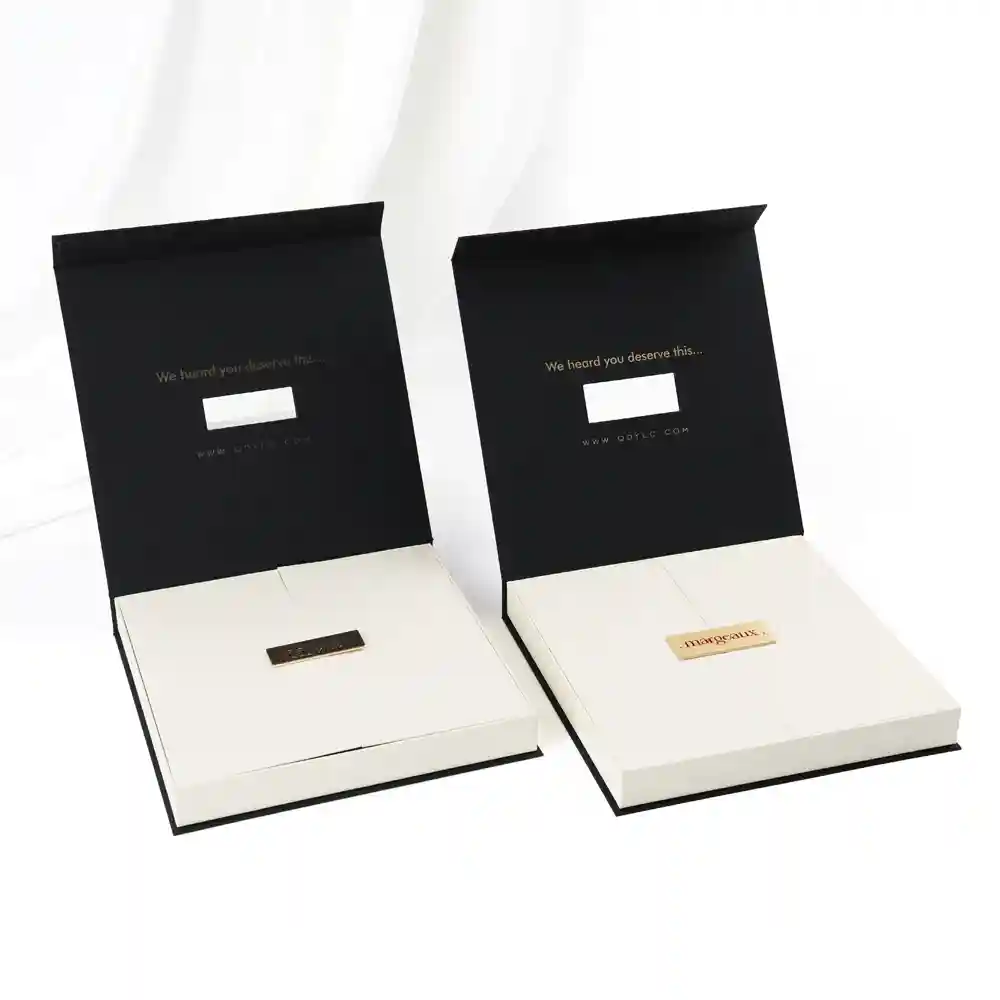
The most expensive packaging mistakes aren’t design mistakes — they’re omissions. A brand specs a beautiful box and forgets the desiccant, or the outer carton rating, or the reorder price, and pays for it in returns or re-quotes. This checklist runs in packing order: outer shell first, then what’s inside, then the brand touches, then what’s outside the box.
Twenty-four items. Work through them before you ask for a single quote, and the quotes you get back will be comparable — and correct.
Stage 1 — Before You Design (Items 1–5)
- Measure the product, including hardware. Three dimensions, plus the protrusions: clasps, buckles, ear posts, crown heights. Suppliers quote what you send; a missing 3mm clasp depth is a re-quote.
- Set the price band → the packaging cost rule. Target 5–10% of retail price. A $40 product carries $2–4 of packaging; a $120 product carries $6–12. Write the number down before design starts — it will veto half the ideas that follow.
- Decide the channel. Self-hosted store, Amazon, retail shelves, or a mix? Each channel changes the spec: Amazon punishes rolling products and demands flat surfaces for barcodes; retail hooks need hang holes; DTC gift orders justify a box that a card wouldn’t.
- Decide the shipping method. Sea, air, or courier? This determines the crush rating the outer carton needs (Item 22) and the timeline you’re committing to.
- Forecast first-order sales honestly. This sets your MOQ tier. The math that matters: 100 pieces at $2.80 ($280 total) beats 500 pieces at $1.35 ($675 total) when the design might change. Order 3 months of expected sales, not 12.
Stage 2 — The Box Itself (Items 6–12)
- Choose the structure. Rigid (set-up) box, folding carton, or drawer box? Rigid reads premium and ships heavy; folding ships flat and reads lighter; drawer adds the pull-open moment for $0.40–0.60.
- Set outer dimensions and internal height. The formula: internal height = product height + insert thickness + 3mm minimum clearance. More than 5mm of play and the piece travels in transit.
- Choose board weight. 1,000–1,500gsm grey board for rigid boxes; 350–400gsm for folding cartons and backing cards. Below 1,000gsm a “rigid” box flexes; below 300gsm a backing card bows on the hook.
- Choose the surface finish. Matte film hides wear and fingerprints; gloss shows them. Soft-touch lamination is the strongest premium signal per dollar. Uncoated stock absorbs ink and reads 10–15% darker — adjust artwork accordingly.
- Choose the print method. Digital for runs under 500 and any variable data; offset above 500 with fixed artwork. Digital has no plate fees — it’s what makes 100-piece runs viable.
- Specify colors precisely. Pantone numbers, not adjectives. “Deep burgundy” produces a different result at every factory. Approve printed proofs on the actual substrate, not on white coated paper.
- Approve the structural drawing — in writing. The dieline is the contract between design and production. Every Qdylc quote includes it free; sign it before any tooling is cut. Changes after this point cost real money.
Stage 3 — Inside the Box (Items 13–17)
- Choose the insert material and slot spec. Slot width = band thickness + 0.5mm. Velvet-laminated EVA above 500 pieces; velvet-faced card below. (Full comparison in our insert options guide.)
- Choose the insert facing color. It’s the surface the customer touches first — and the one that photographs in every unboxing. Neutral tones (grey, taupe, ivory) flatter more metal colors than brand-colored flocks.
- Add a tarnish strip for silver. Sterling sulfides within months in a sealed-but-breathing box. One strip per box, cents each, prevents the most common “arrived perfect, tarnished in the box” ticket.
- Add a desiccant — 1g per box. Humidity spotting during ocean transit is entirely avoidable. Non-negotiable for leather-lined products and pulp inserts.
- Fix the product without adhesive. Paper elastics, card slots, and shaped cavities hold pieces without the residue that adhesives leave on velvet over time.
Stage 4 — Brand Touchpoints (Items 18–21)
- Decide the interior lid marking. A foil-stamped “Personalized for ___” or brand mark inside the lid is the cheapest premium signal in the box. With digital foil, variable names carry no per-unit cost.
- Spec the care card. 85×54mm (credit-card size — it fits wallets and standard holders), instructions on the back, QR code if you have a care page.
- Decide on a brand/thank-you card. Worth it for DTC gift orders; skip it for retail-channel units where it adds cost and gets discarded.
- Choose ribbon or seal. 15mm ribbon cross-tied for lids; a branded tamper seal for anything hygiene-sensitive. Both cost cents and both are visible in every unboxing video.
Stage 5 — Outside the Box (Items 22–24)
- Spec the outer carton rating. Single-wall B-flute, ECT 32 minimum for parcels under 2kg; double-wall BC-flute, ECT 44+ for consolidated or ocean shipments. The jewelry box does not protect itself in a courier network.
- Use plain, tamper-evident sealing tape. Branding on the outer carton invites theft; visible seals reassure. The brand lives inside, where the customer is.
- Decide the logistics terms. DDP (one invoice, duty handled) versus self-clearing with a broker. For first orders, DDP removes the entire customs-learning curve — it’s what Qdylc runs to the US, EU, UK and Australia.
Budget Example: 100 vs 500 Pieces
| Line Item | 100 Pieces | 500 Pieces |
| Setup (dieline, die, plates) | $0 free / included | $0 free / included |
| Sample (credited to order) | $30–80 | $30–80 |
| Unit cost | $2.80 | $1.35 |
| Total production | ~$280–310 | ~$675–705 |
| Cost per box as % of a $45 product | 6.2% | 3.0% |
Read it this way: the 100-piece order costs less cash and more per unit — the correct bet for an unvalidated design. The 500-piece order halves unit cost and triples commitment — the correct move once a design has sold through. Keep the dieline and approved proof on file either way, so the reorder quotes identically.
FAQ
How many SKUs should a new jewelry brand’s first packaging order cover? One box structure, two print variations. A single dieline serves every product if internal dimensions are set by your largest piece — one setup cost, five designs’ worth of testing. Expand to more structures only after a design has proven out at retail.
How much inventory should I order for a first packaging run? About 3 months of projected sales. Packaging doesn’t expire but cash does: 500 boxes of an unvalidated design is $675 committed to a spec you may revise. Start at 100–200 pieces on digital print (no plate fees), reorder at 500–1,000 once the design sells through.
What should be decided before asking a factory for a packaging quote? Product dimensions including hardware, retail price band (packaging at 5–10% of it), sales channel, shipping method, and first-order quantity. With those five answers, quotes come back comparable and correct — without them, every quote is a guess that will be re-quoted.
Start With the Checklist, End With a Quote
Qdylc works from checklists like this one every day: send your item list — dimensions, channel, quantity — and we’ll return a split quote (setup plus unit) with a free structural drawing and a 3D mock-up within 24 hours. 100-piece minimums, samples credited to production, DDP to the US, EU, UK and Australia.
Latest News
How to Package Keychains: Cards, Boxes, and Retail Display
November 11, 2026
Ring Box Inserts Compared: EVA, Foam, Paper Pulp, Velvet, and PET
November 11, 2026
How to Package Leather Bracelets Without Creasing or Moisture Damage
October 30, 2026
How to Package a Necklace for Gifting: The Definitive Guide
October 29, 2026